DIY Wallpaper Removal: A Step-by-Step Guide from One Man & A Paintbrush
Removing wallpaper can seem daunting, but with the right tools and a bit of patience, it can be a manageable DIY project. Whether you're updating your space or preparing walls for a fresh coat of paint, this guide from One Man & A Paintbrush will walk you through the process step-by-step.
Gather Your Tools
Before diving into wallpaper removal, make sure you have all the necessary tools. Here's what you'll need:
- Wallpaper scraper or putty knife
- Scoring tool
- Wallpaper remover solution or a mixture of vinegar and water
- Sponge or spray bottle
- Drop cloths or plastic sheeting
- Painter’s tape
- Bucket and warm water
Prepare the Room
Preparation is key to a successful wallpaper removal project. Start by moving furniture away from the walls and covering the floor with drop cloths or plastic sheeting to protect it from water and debris. Use painter's tape to secure the cloths if needed.
Turn off power to any outlets on the wall you're working on, and remove outlet covers and switch plates. This ensures safety and prevents damage during the removal process.
Score the Wallpaper
Using a scoring tool, gently perforate the surface of the wallpaper. This step is crucial as it allows the remover solution to penetrate and loosen the adhesive. Be careful not to press too hard, as this could damage the drywall beneath.

Apply Wallpaper Remover
Next, apply your chosen wallpaper remover solution. You can use a commercial product or a homemade mixture of vinegar and warm water. Use a spray bottle or sponge to apply the solution generously over the scored wallpaper. Allow it to soak for about 15 minutes so the adhesive can start breaking down.
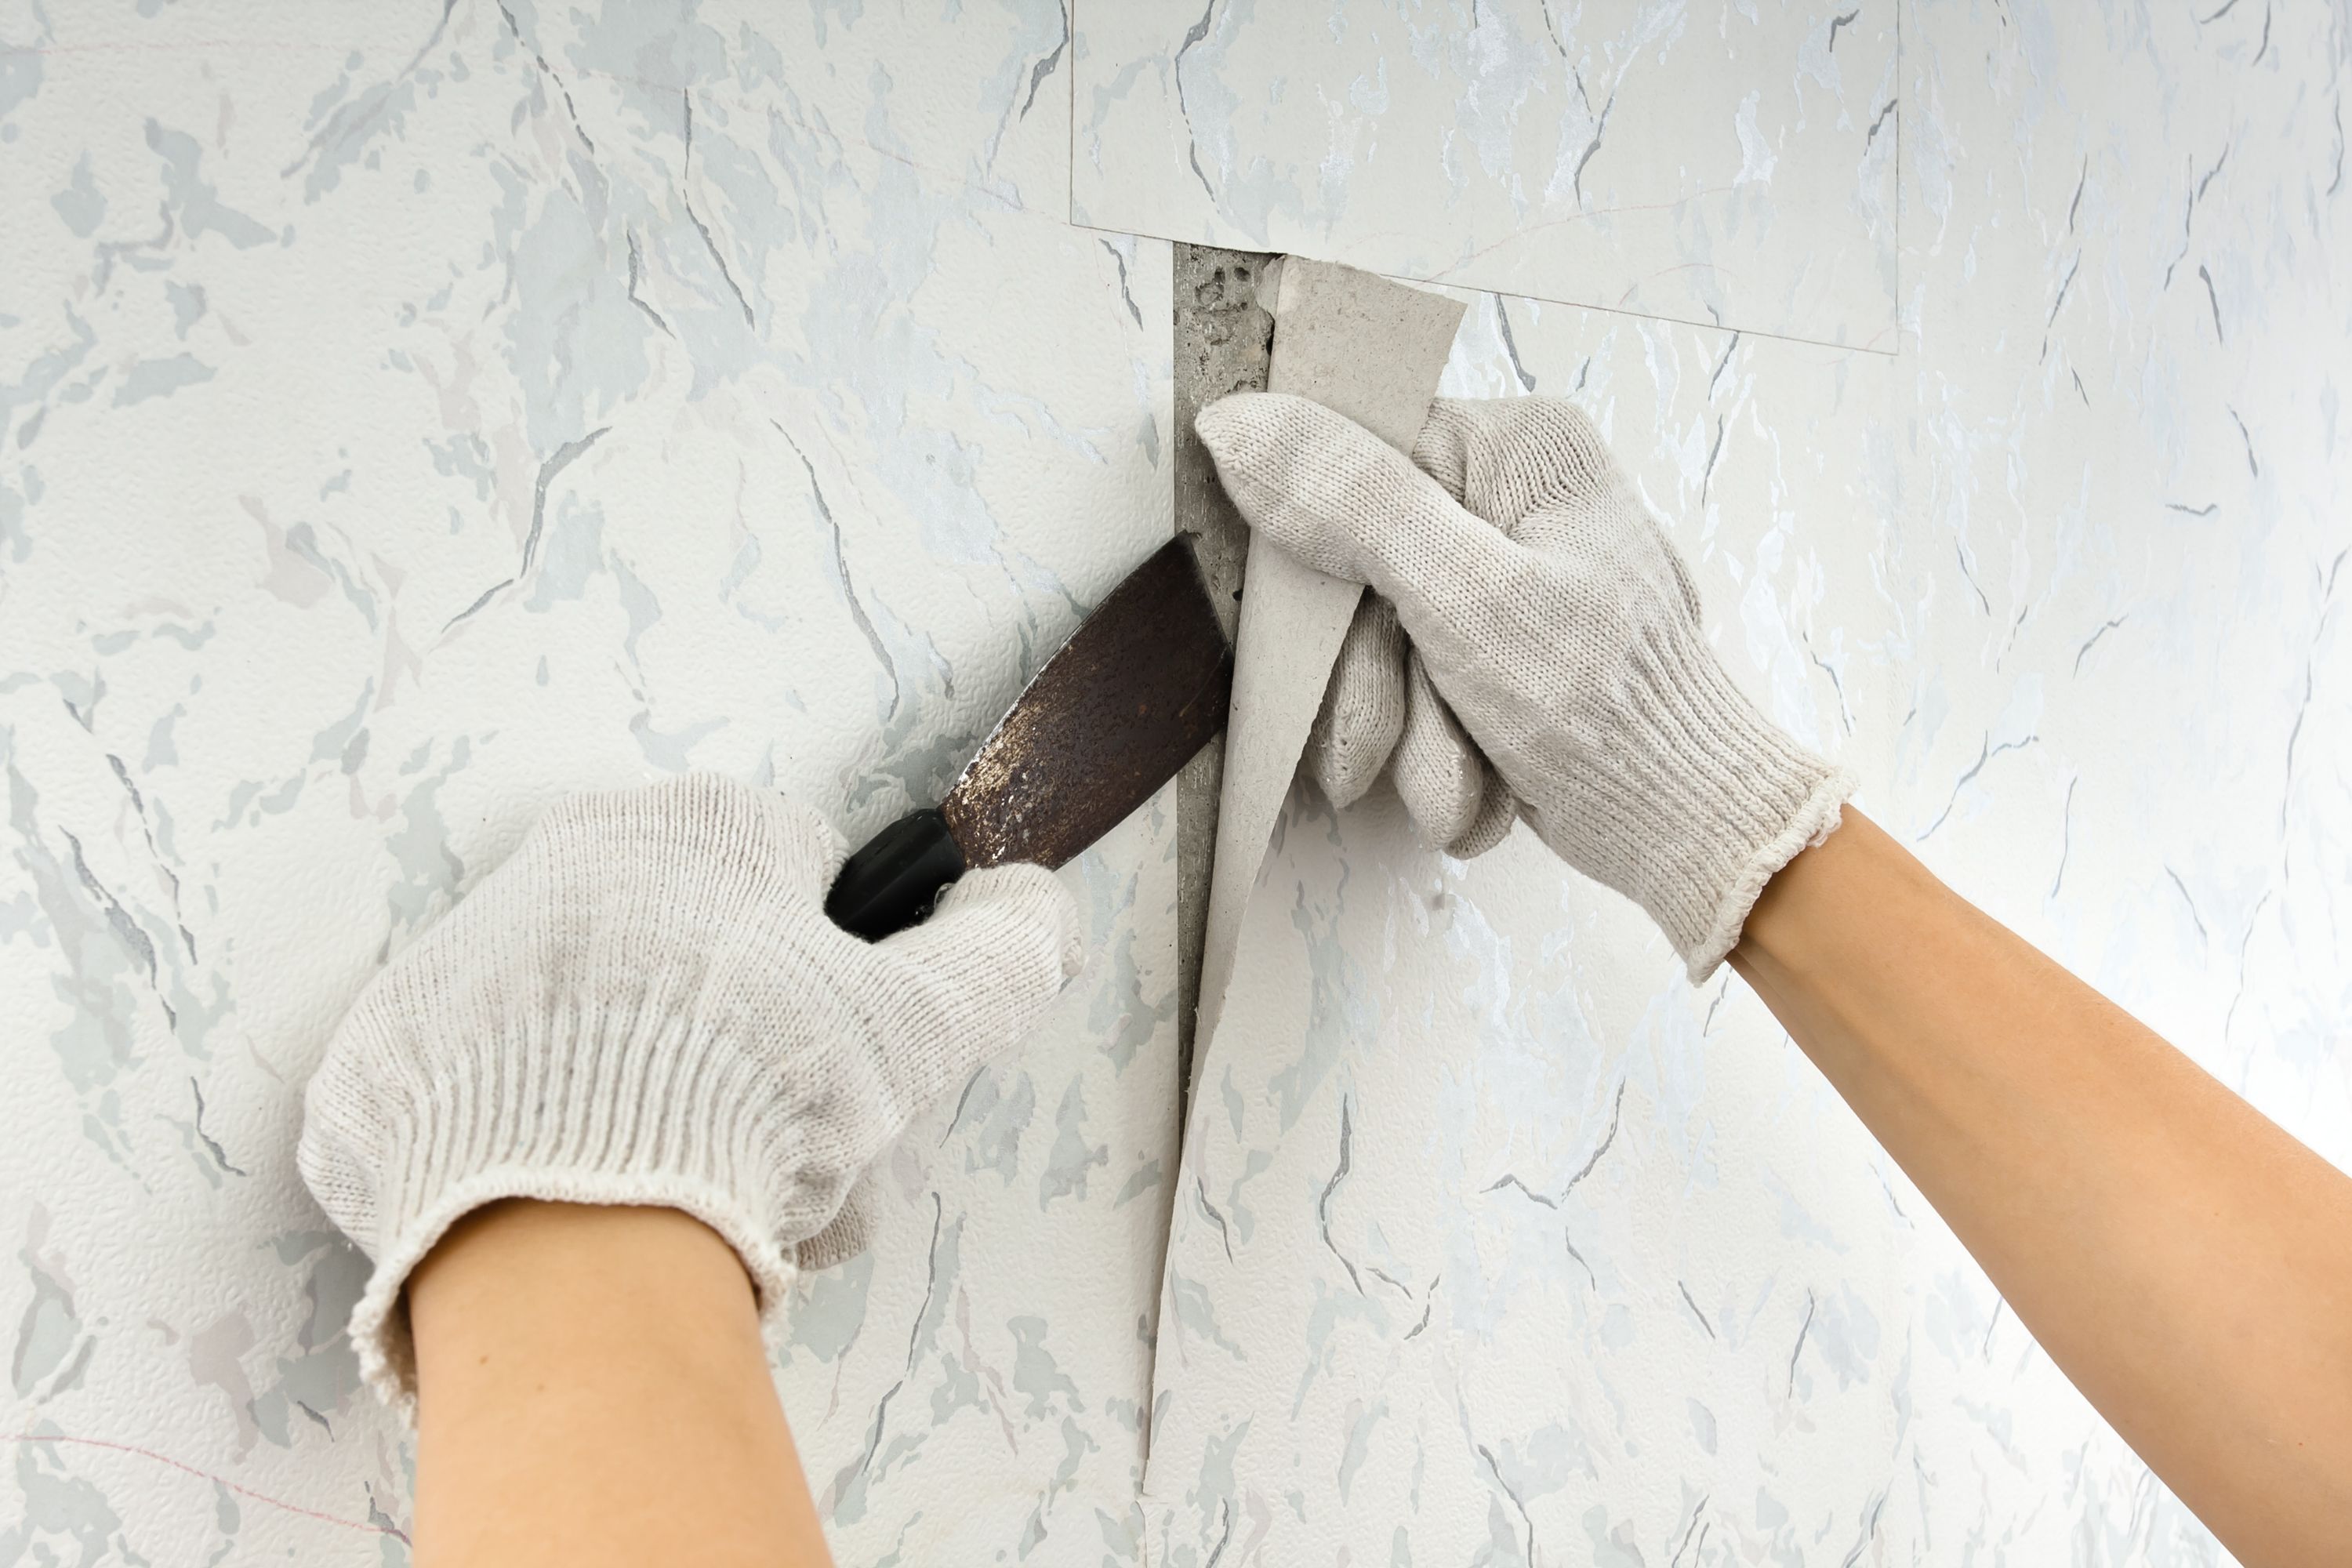
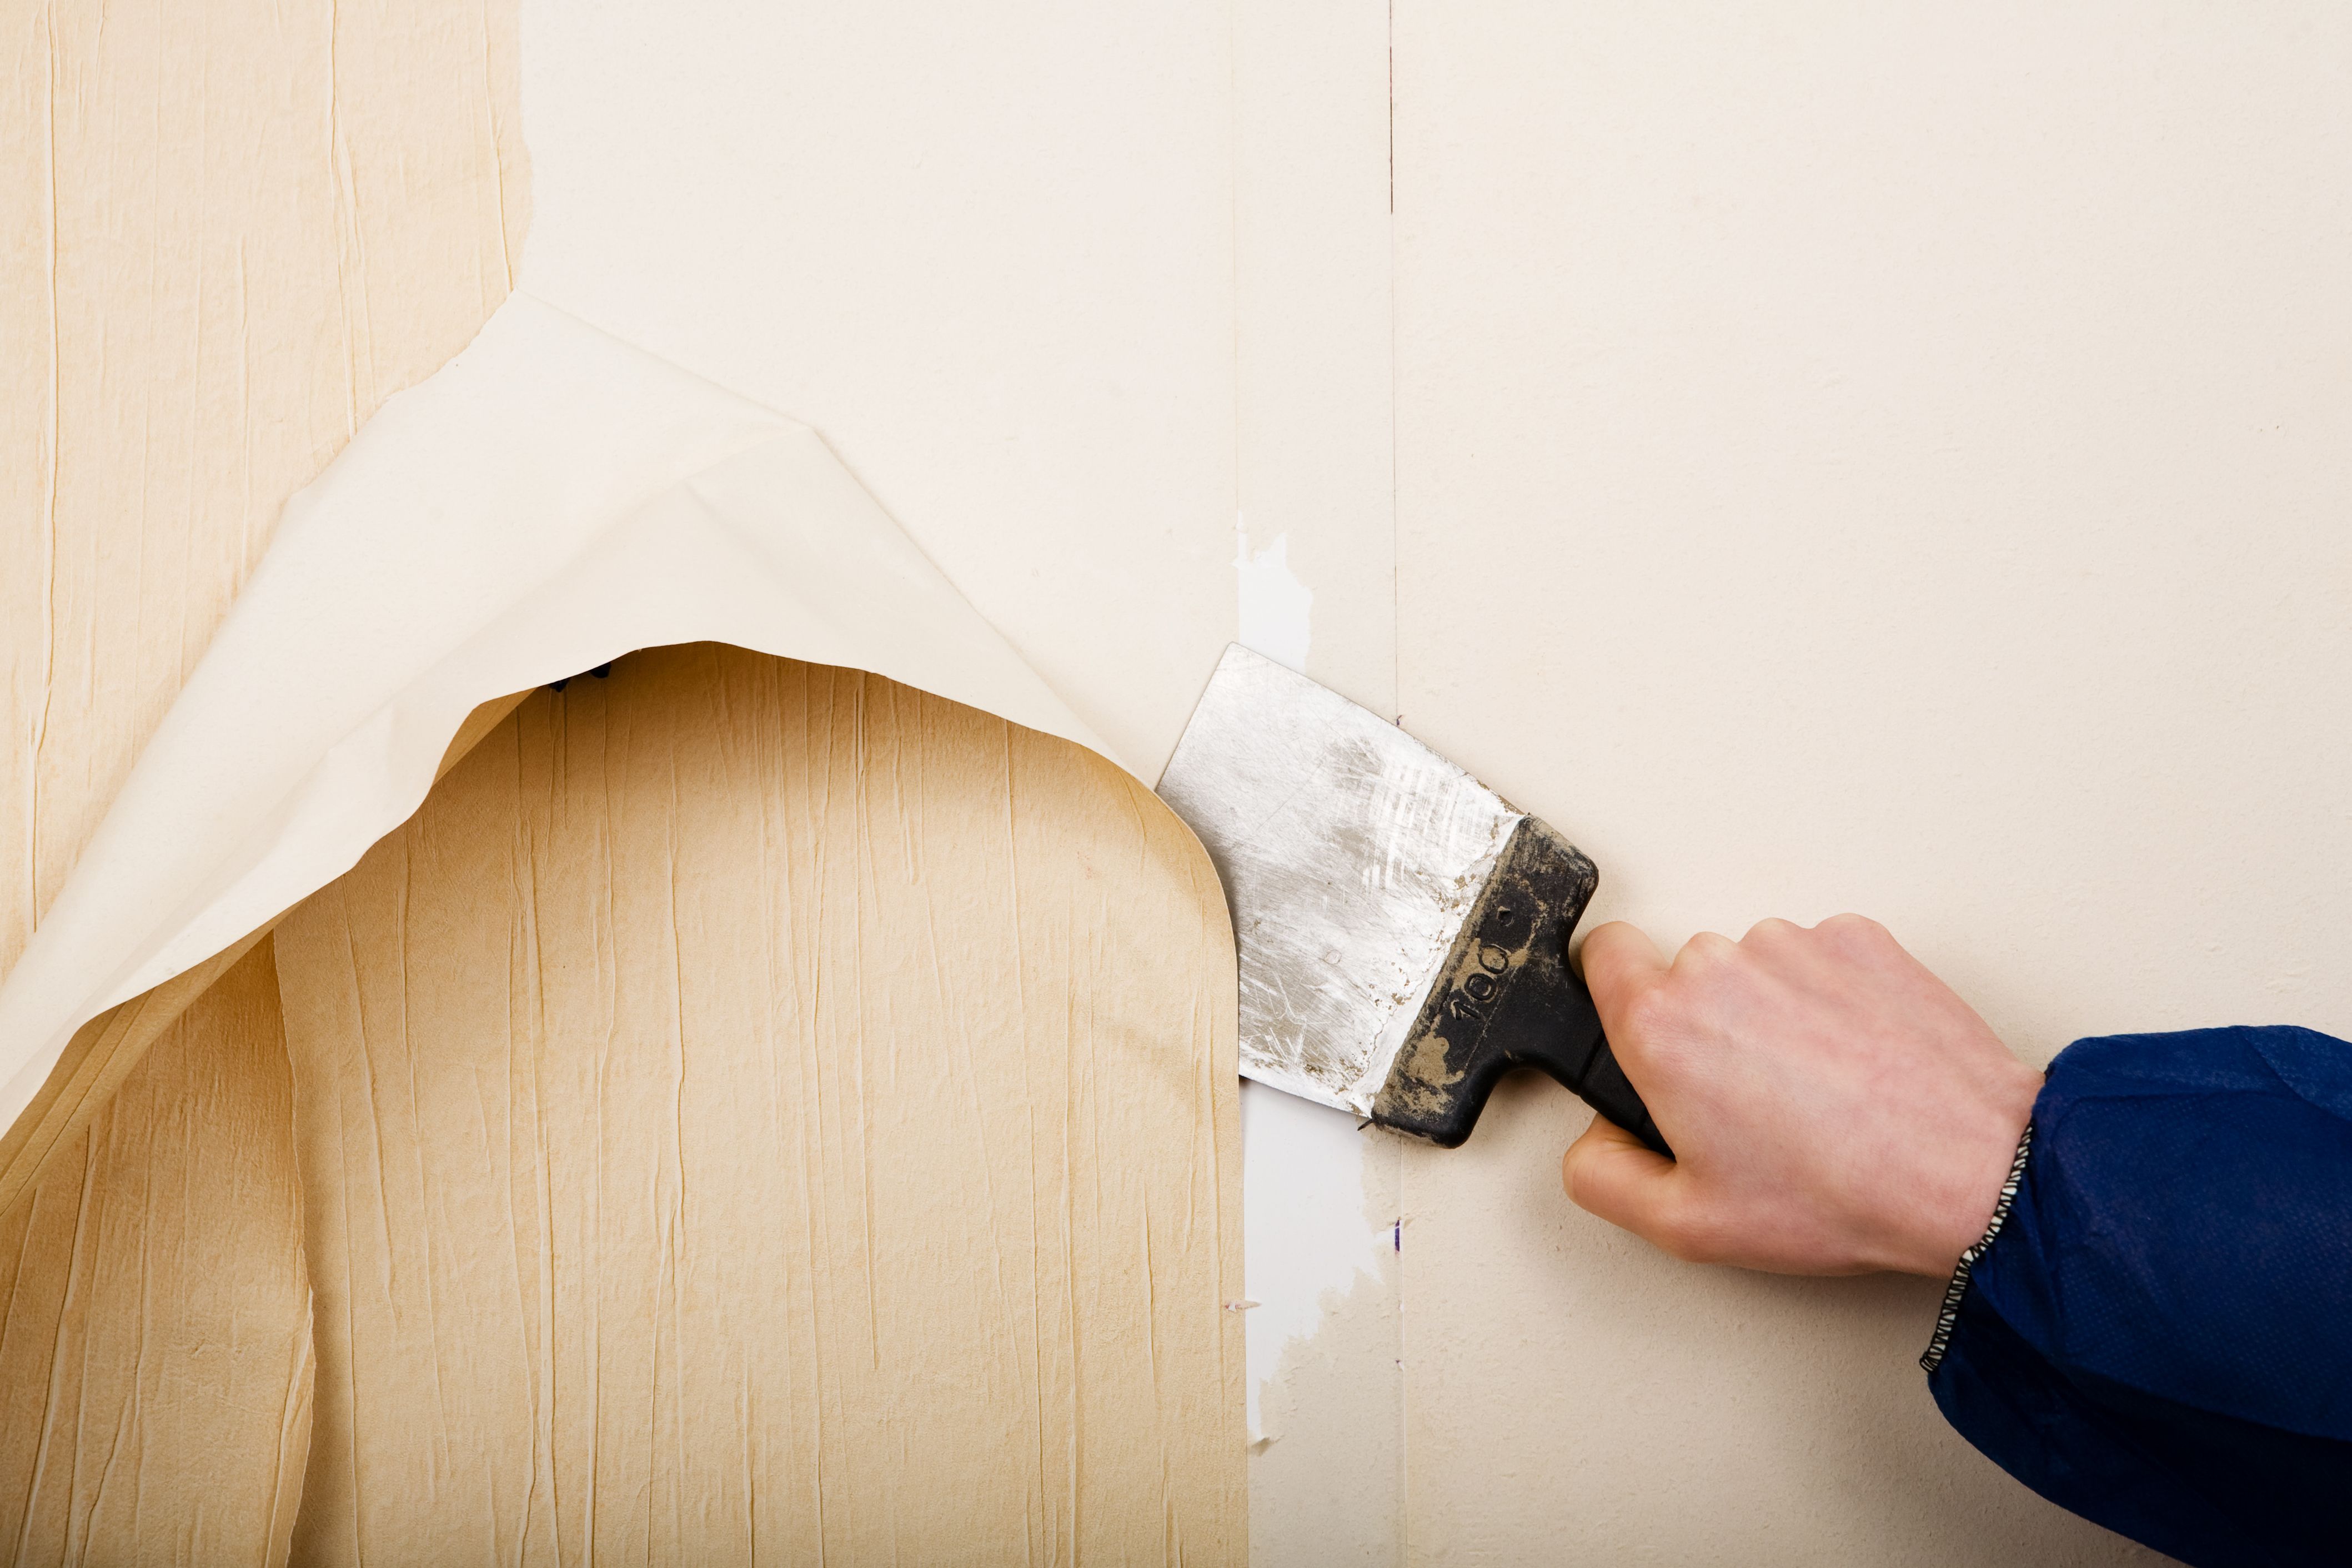
Start Scraping
Once the remover has soaked in, it's time to start scraping. Begin at a corner or seam using your wallpaper scraper or putty knife, carefully lifting the paper away from the wall. Work slowly to avoid damaging the wall surface underneath.
If you encounter stubborn areas, reapply the remover solution and give it more time to work. Patience is vital here to ensure you remove all parts of the wallpaper cleanly.
Clean Up and Repair
After successfully removing all the wallpaper, you'll need to clean the walls to eliminate any leftover adhesive. Use warm water and a sponge to wash down the walls thoroughly. Once dry, inspect for any damage or imperfections that may require patching before repainting or applying new wallpaper.
If you notice any gouges or holes, use spackle or joint compound to fill them in, sanding smooth once dry. This ensures a smooth surface for whatever comes next in your decorating plans.
Final Touches
Finally, wipe down the walls with a damp cloth to remove any lingering dust. Once everything is clean and dry, you can proceed with painting or applying new wallpaper, knowing you've laid a solid foundation for your next project.
Tackling wallpaper removal yourself not only saves money but also gives you a sense of accomplishment. With these steps, you'll be well on your way to transforming your space with confidence and ease.